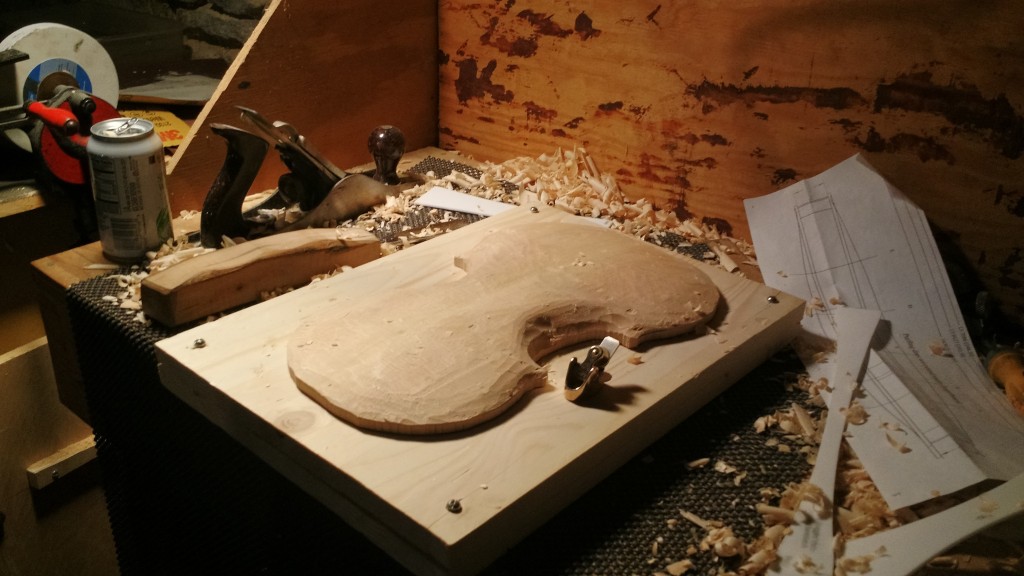
Looking kinda like a violin top isn’t it? Carl says it’s time to bring the outline into shape cut the edge to final thickness. That’s exciting stuff people. More pics of it after a this parable:
1000 miles, one step at a time
Looking kinda like a violin top isn’t it? Carl says it’s time to bring the outline into shape cut the edge to final thickness. That’s exciting stuff people. More pics of it after a this parable:
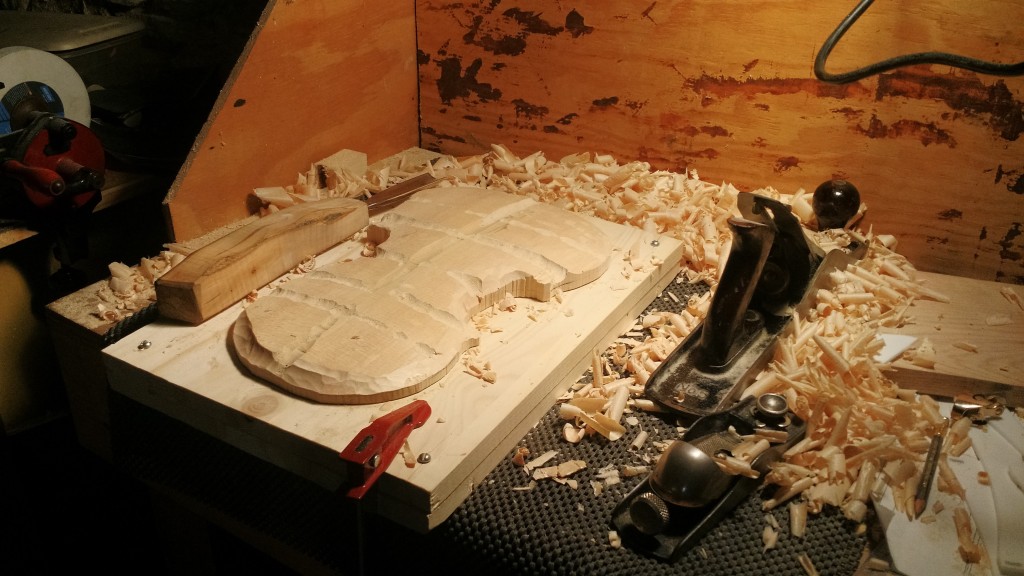
Updates are going to be kinda boring for awhile here. I carved for almost an hour this morning and I’m getting pretty close to having the initial edge thickness done. The rough arching is also getting pretty close to being set. If I get a work session in the shop tonight I should be able to finish both.
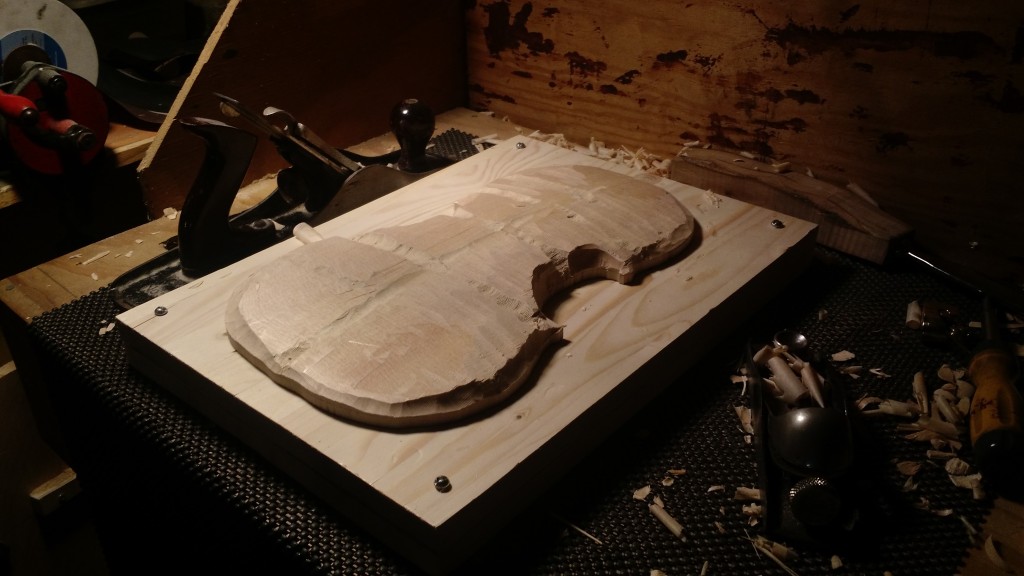
Here’s a look at it from the other direction.
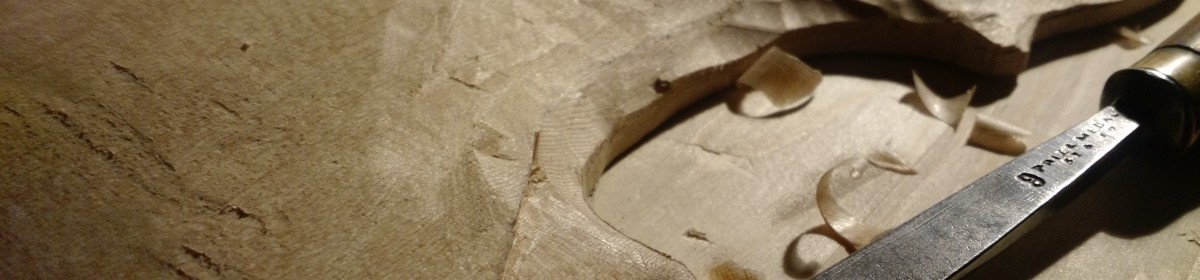
I am realizing that carving has phases for me. I start of really reluctant to dig in. It seems impossible that the large chunk of wood could ever be what I want it to, so I’d rather go play the fiddle thanks. After I’ve done some work, I move on to disgust. The initial wood removal is ugly and I want to mess with it even less. That’s basically the state I left the top at yesterday in that photo. Then something magical happens. There’s a moment when I can just faintly see the form begin to emerge, and then the tide turns. Instead of not wanting to look at the block of wood, I can’t stop thinking about it and how great it’s going to be to draw that shape out. I hit that moment today when one corner began to emerge.
It was a bizarrely nice weekend in Chicago: 60 degrees and sunny on Saturday. That meant an epic hike, a serious recovery day, and not a ton of fiddle making.

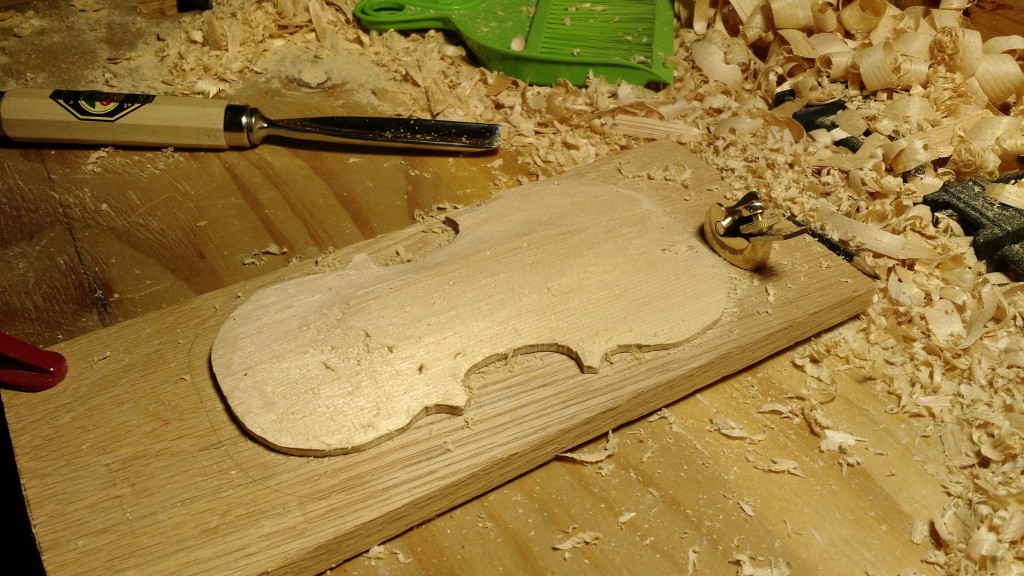
Traditionally, the final smoothing on fiddles is done with scrapers, not sandpaper. A scraper leaves a different surface that’s very easily identified once you’re used to seeing it. There are arguments that sanding the top especially clogs with wood pores and changes the sound of the instrument. I have my doubts about that, but I do like to do things as they’re traditionally done. That said, I woke up this morning and realized I don’t have a curved scraper (and I didn’t feel like making one). So I decided to just finish the rest of Davide’s top with sandpaper.
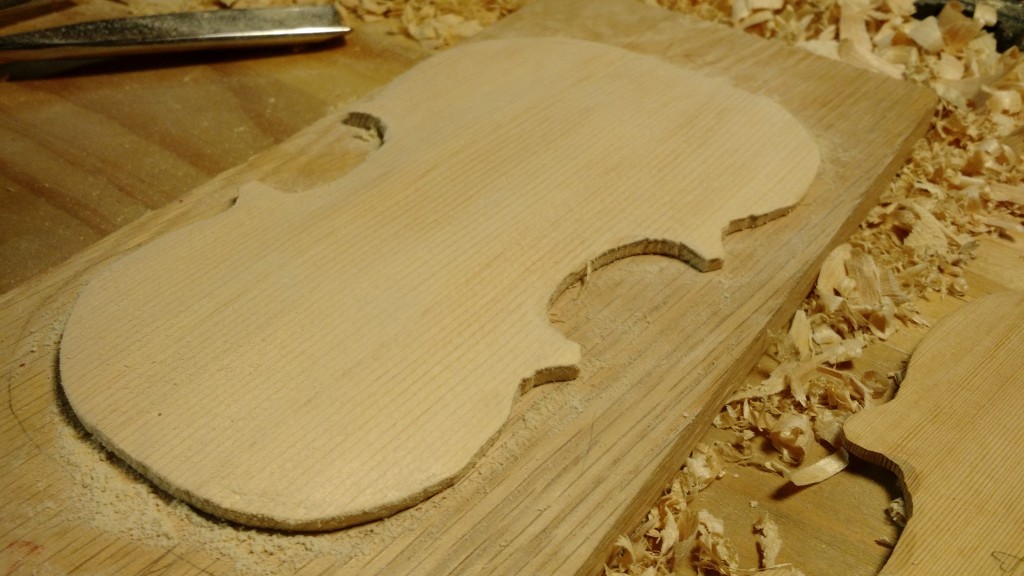
Getting close on the top carving. A bit more work and I’ll switch from the finger plane to a scraper to clean it all up.
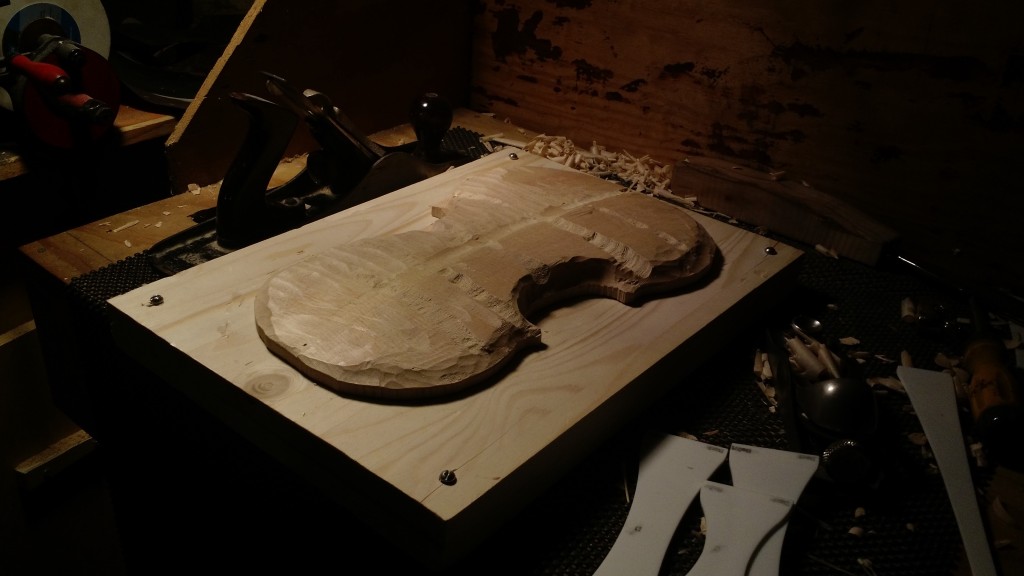
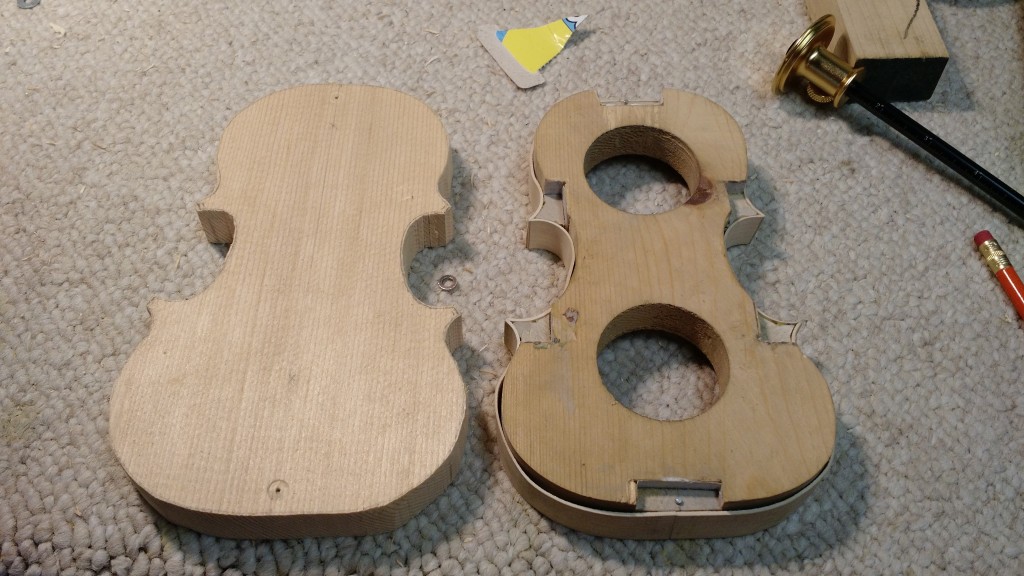
And I transfered the rib outline to the top plate. Back before the linings I was worried the side would be too bumpy to make a good outline, but the linings really cleaned it up. The tracing looks fine.
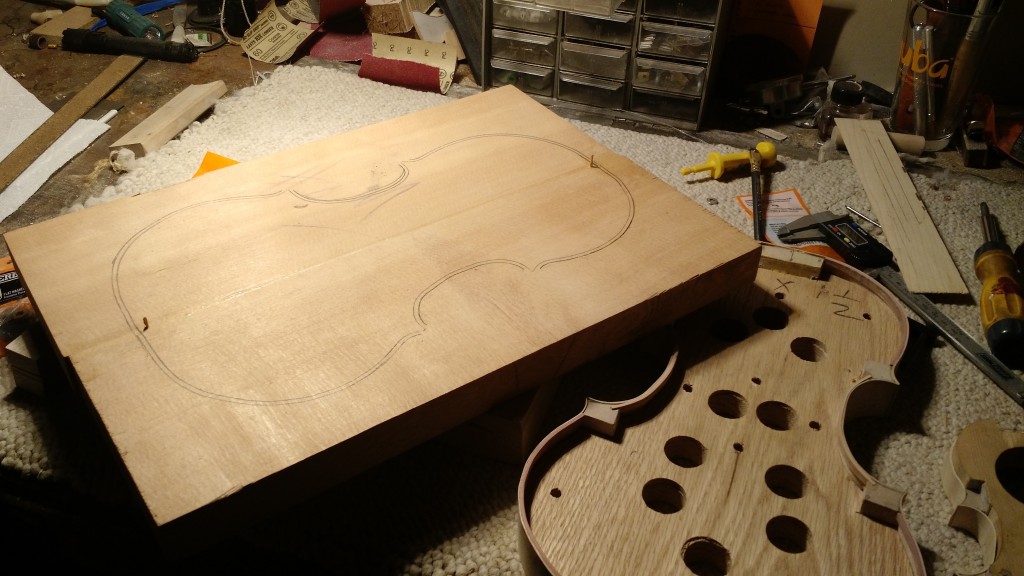
Now I just need to draw in the corners before I get to cutting it out.
It’s story time so sit back (or hit the jump for the pics) and pour yourself something to drink.
I think I was 8 years old the summer I learned to carve wood, which would make it the first of a series of summers that we spent a few weeks camping in our RV in northern California. I think that summer we split our time between Shasta Lake and Lake Trinity (or Claire Engle Lake, I have never learned why the lake has two names). In summers that followed, we’d skip Shasta and just return to Trinity. The campground we stayed at was called “Wyntoon,” and it was the happiest spot of my childhood.*
I’ll admit it: while I have occasionally been a pretty tough guy as far as overall fitness, my hands tend to be relatively wimpy. This is, no doubt, the result of a career as a button pusher. Well that’s all about to change as I’ve taken on a new finger strength fitness plan called “carving a fiddle top.” Seriously, I can barely type this morning my fingers are so sore.
Okay so, if you’ll remember, this is how the top of Davide looked last
Got a bunch of work done putting linings into both fiddles this weekend. This turned out to be more difficult than I imagined it would be but enjoyable as well.
I decided to use cedar for the linings, which made the shop smell great. Here’s a shot of setup I used to cut the linings down. I started with a board and ended up with 60cm long strips about 2mm thick and 8mm tall.
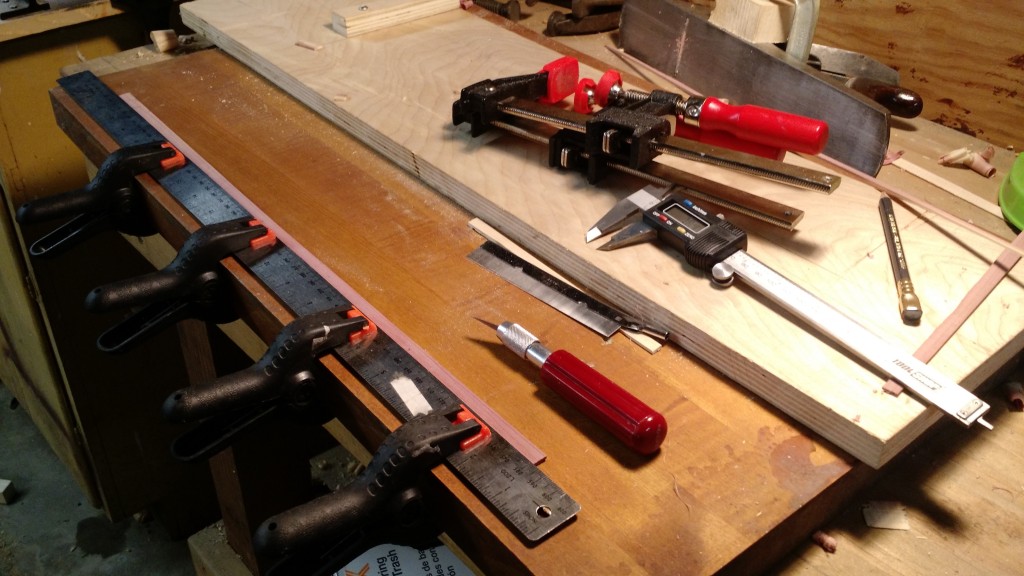
It took me a few iterations to come up with that setup to trim them, but it worked well once I’d figured it out.
I was wondering why it seemed like I got zero done this morning even though I spent an hour dinking around: I am now back into the land of never having done this stuff before. I had to think a bit about how I was going make linings, but I was glad it involved using the shooting board and the Stanley #5.
