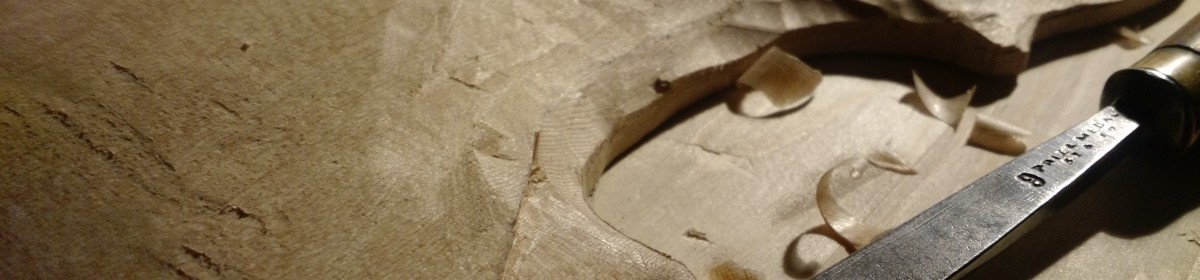
Another exciting morning in the shop. I woke up, put that Cadillac sharpening station to work, then had an espresso and got down to working on Golia. I cleaned up the corners with a file, and I am happy with all but one of them. Here are two nice ones:
At this point, it was time for the milestone of breaking loose the fixture from the garland. With Davide, the fixture was the simplest kind: a single slab of wood shaped like a violin. Removing the garland from it was just a matter of knocking the blocks loose from the fixture.
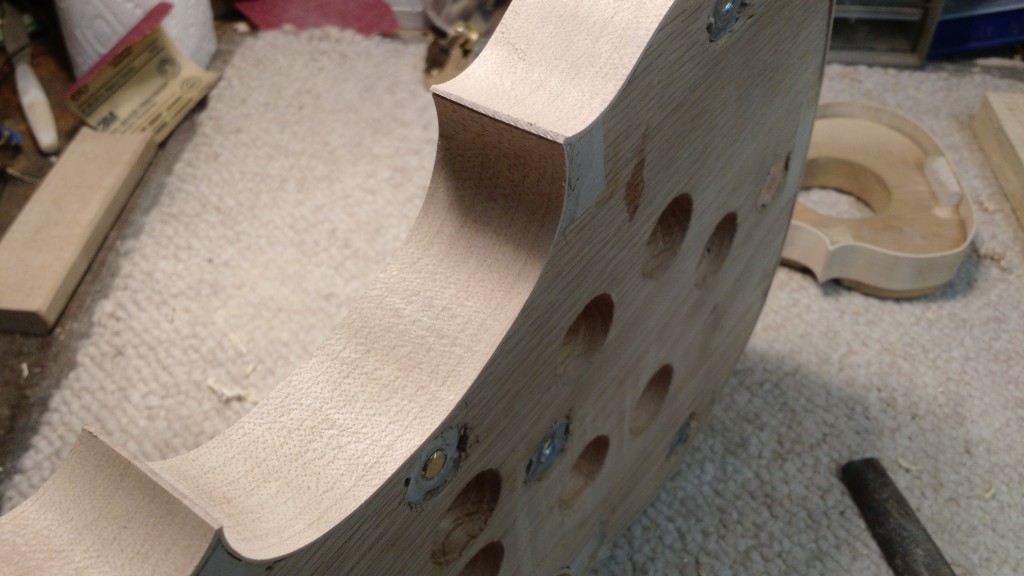
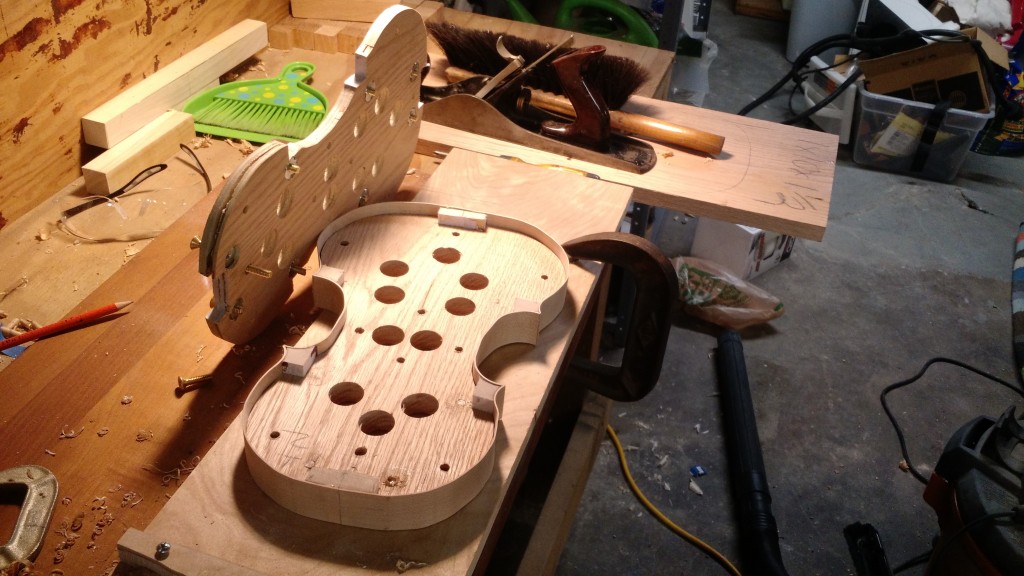
The fixture I made for the Maggini is a much more sophisticated setup that Carl developed after the ones Strobel uses in his book — a really handy book. This style of fixture is made of two slabs held together by brass screws. Once the garland is made, you remove those screws and put them into several “jack” taps in the top and slowly turn them in order. This effectively pops the upper plate of the fixture away, allowing you to move on to the next step while leaving the lower part of the fixture in place to keep the garland’s shape. Very clever!
So with my corners done, it was time to pop the screws.
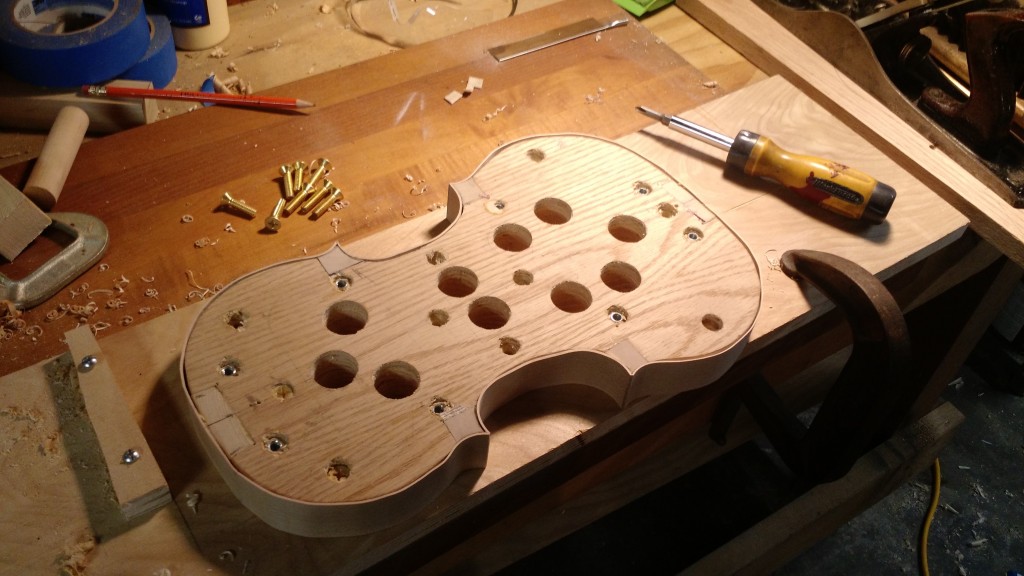
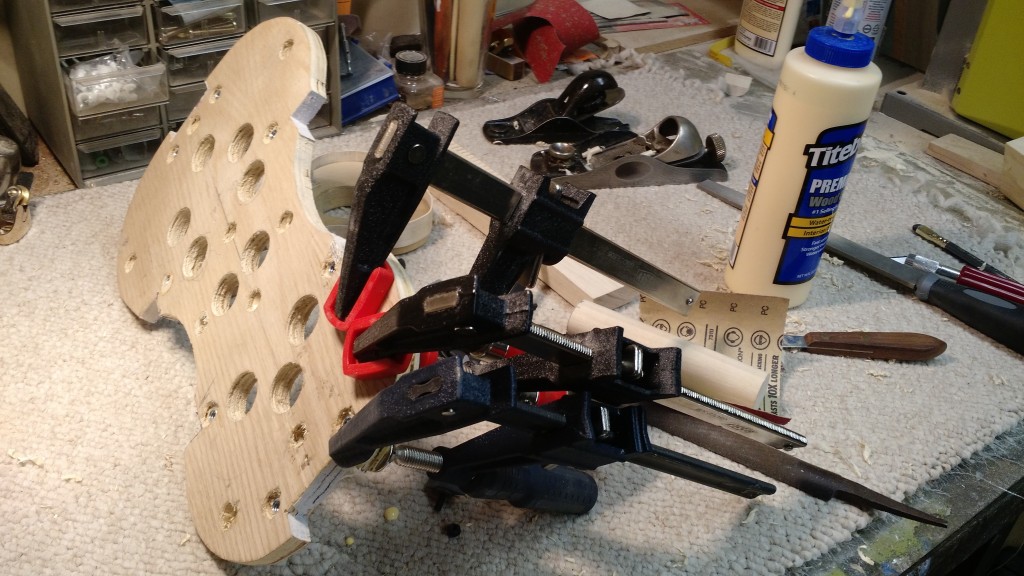
Then all the screws go into the jack holes
You slowly turn each screw a quarter turn, then move on to the next. This creates a bunch of crackling as the blocks break loose. It’s super cool and a little unnerving.
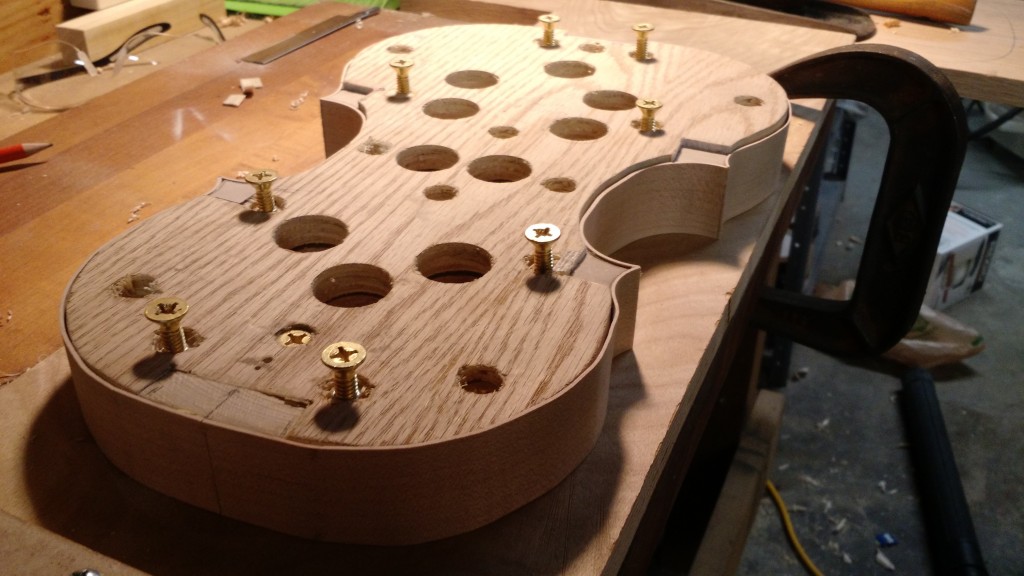
At this point, all the blocks are free except the neck block, which seems to be stuck. I turn the screws more, and I hear wood tearing right about the time I notice the one screw I forgot.
Goddammit.
I removed the screw and the top happily popped free. Fortunately, I realized the problem before the screw pulled straight through the plywood, so the damage was limited to delaminating the the plywood of the fixture top.
It was exactly like that thing that happens when you’re playing a great piece of music and you get to the really dramatic part and then you screw it up because you’re like “omg this is the awesome dramatic part!!” So yeah, don’t forget to remove all the screws when you get to the dramatic part.
A quick shot of Titebond and some clamps, and I think it’s probably going to be useable for another fiddle.
But damaged fixture aside, check out this free-from-the-fixture garland!
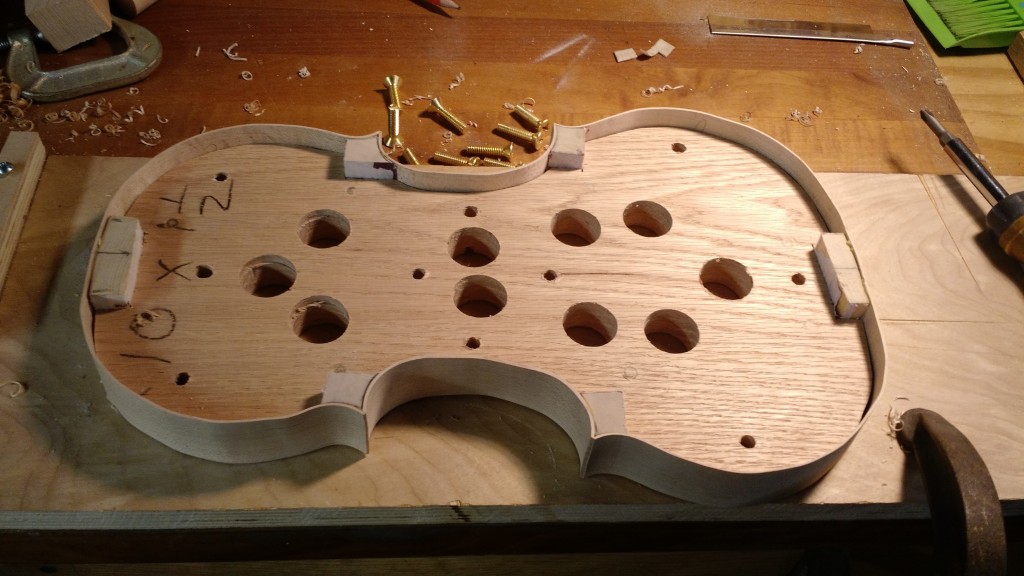
Carl’s fixture design is very clever and worked perfectly. My blunder with forgetting the screw aside, all the block separated exactly as they were supposed to with no drama. With simpler fixtures like I used on the 1/16th, sometimes the blocks get stuck, and freeing them can lead to all sorts of other problems. Carl’s style takes more time to make, but I am guessing it saves time in the end.
Now, on to linings.