Besides myself, the next audience this blog is intended for is someone who is more or less in my position: working on the first fiddle outside of a formal luthier violin school. You guys and gals should keep reading, the rest of you can skip on to the next post where I take Golia off the fixture (yay!).
Your tools need to be sharp. Like really, really sharp. You should probably find some other way of testing them but I use arm hair: plane blades and knives should shave arm hair like a razor. In your quest to get your tools that sharp, you will find dozens of systems that claim to be the finest method. I’ve used a few myself, and I’d settled one that was sort of a hybrid of the Scary Sharp (you’ll find lots of info on that one) and traditional water stones. It got my blades sharp enough, but it was messy, slow, and it used lots of sandpaper (which is actually the thing that annoyed me the most).
I’m writing this post because I finally splurged and bought the sharpening setup of my dreams. And it is so wonderful I want to share it with you.
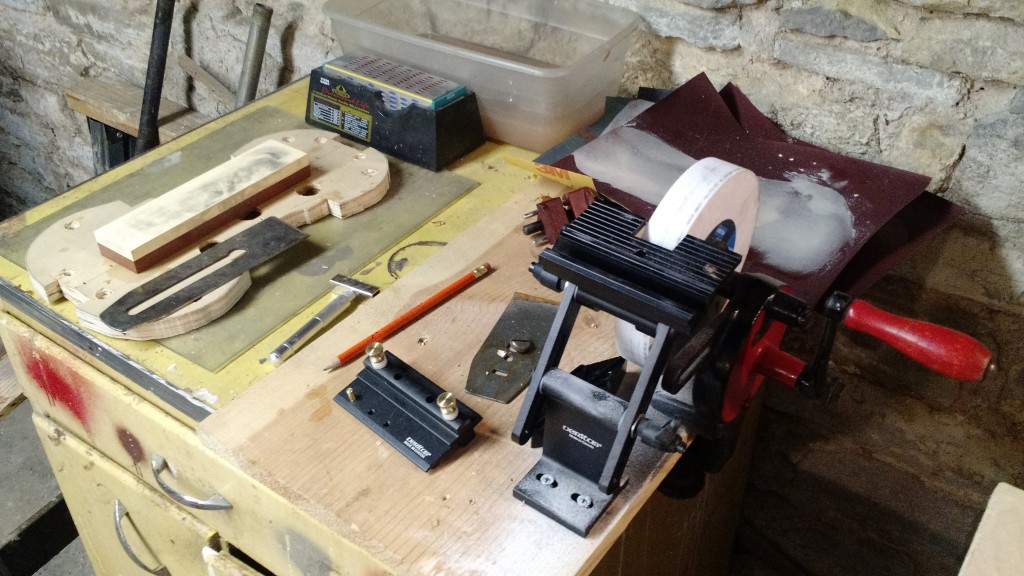
Sitting on the violin shaped piece of wood is a Japanese waterstone with 1000 and 6000 grit sides. Above it is a four sided diamond stone that I use for little other than flattening scrapers now. Above that is a water bath that I use to store the stone. There’s debate on whether you need to do this, but I always have so I continue to. To the right of that is a pile of sandpaper that I use to flatten the waterstone (220 grit) on the plate of glass underneath the violin shaped wood. Below the sandpaper are my new loves.
That’s a hand cranked grinder from the 30s or so. It’s seriously awesome, and I got it on Craigslist for $30. I replaced the grey grind wheel it came with a low temp aluminum oxide one made by Norton. Wrapped around the stone is a Veritas tool rest which makes grinding angles VERY repeatable and fast. The black tool holder to the left is what holds the blade. Here’s what it looks like in practice:
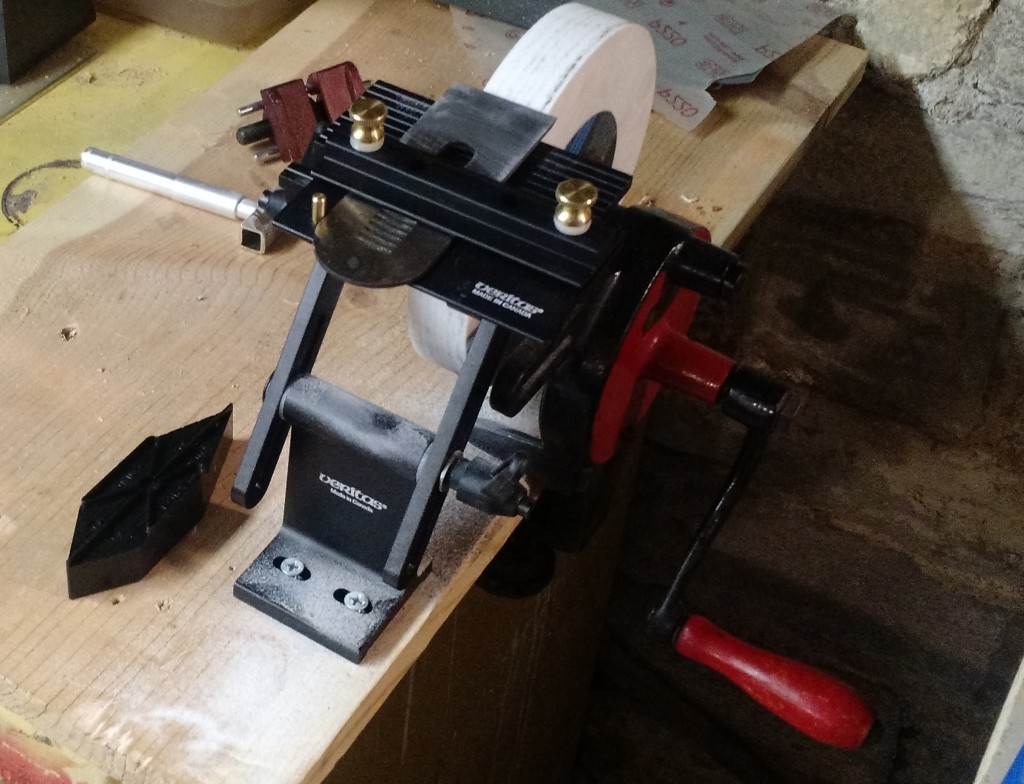
So the whole grinder setup replaces two things I used to do: rough grinding using sandpaper, and using a micro-bevel of 5 degrees or so. Both are things you’ll run across in your search for a sharpening system, and I did them for years. When I made rods, I had friends who had a different system which used a grinder, but I was a poor graduate student then and couldn’t afford the grinder, jigs etc.
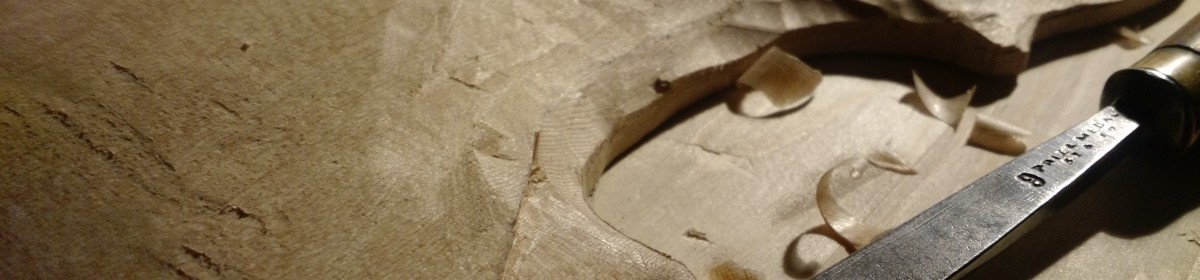
Soon after I began my fiddle making journey, I ran across this post. Since then I have learned that the author, Michael Darton, is an incredibly helpful luthier that has given much wisdom to the online violin making community. It turns out that the system he describes on that page is basically the same one my rod making friends used with one exception: his use of the hand crank grinder instead of an electric one.
You can read how it all works on Michaels page, but the essence is hollow grinding the blade quickly on the grindstone and then moving directly to the whetstone to finish it. Because of the hollow, only a very tiny area is being sharpened, which makes the process very fast. It’s basically the same reason I used a micro-bevel before, but this is much quicker.
When the blade dulls, you can hit the whetstone again. Once the area being sharpened gets too large, you grind it out and start over. If there’s a downside, it’s that you end up grinding the blade more often, but plane blades are cheap when you take into account the time saved.
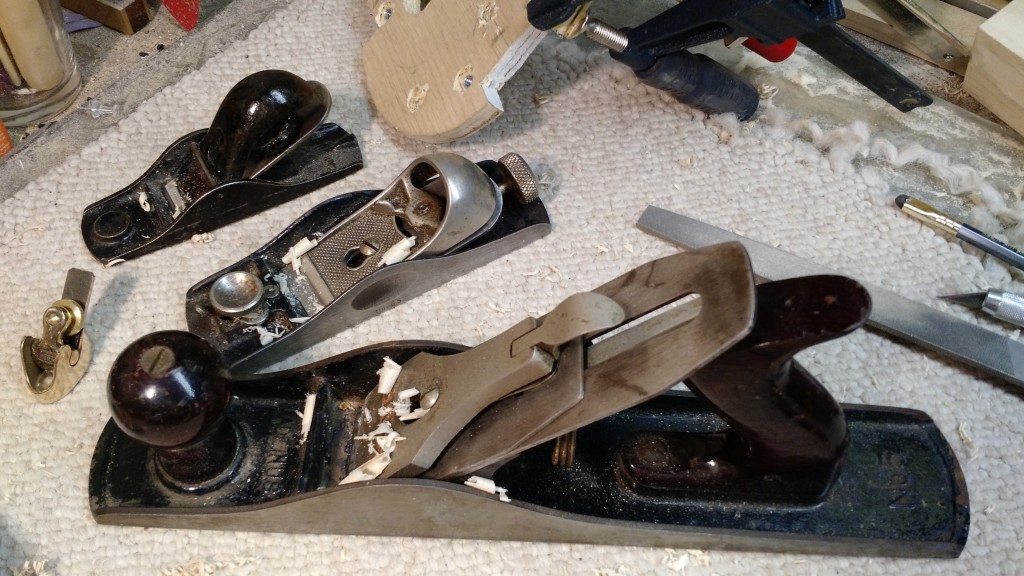
Here’s the family, all mirror sharp