I’ll admit it: while I have occasionally been a pretty tough guy as far as overall fitness, my hands tend to be relatively wimpy. This is, no doubt, the result of a career as a button pusher. Well that’s all about to change as I’ve taken on a new finger strength fitness plan called “carving a fiddle top.” Seriously, I can barely type this morning my fingers are so sore.
Okay so, if you’ll remember, this is how the top of Davide looked last
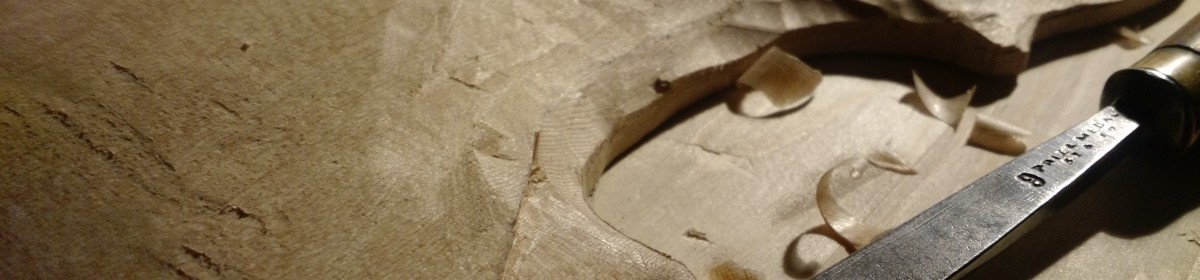
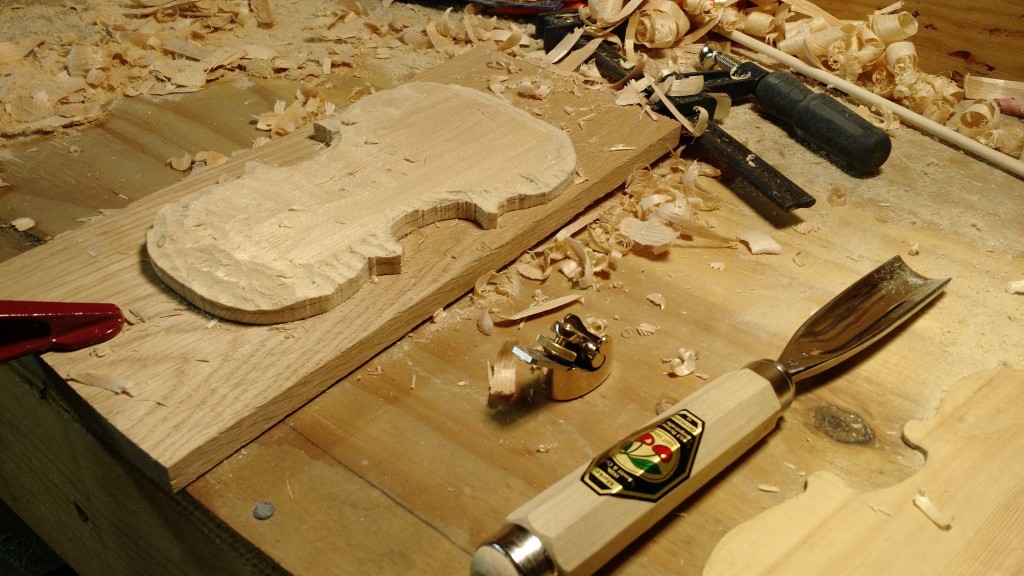
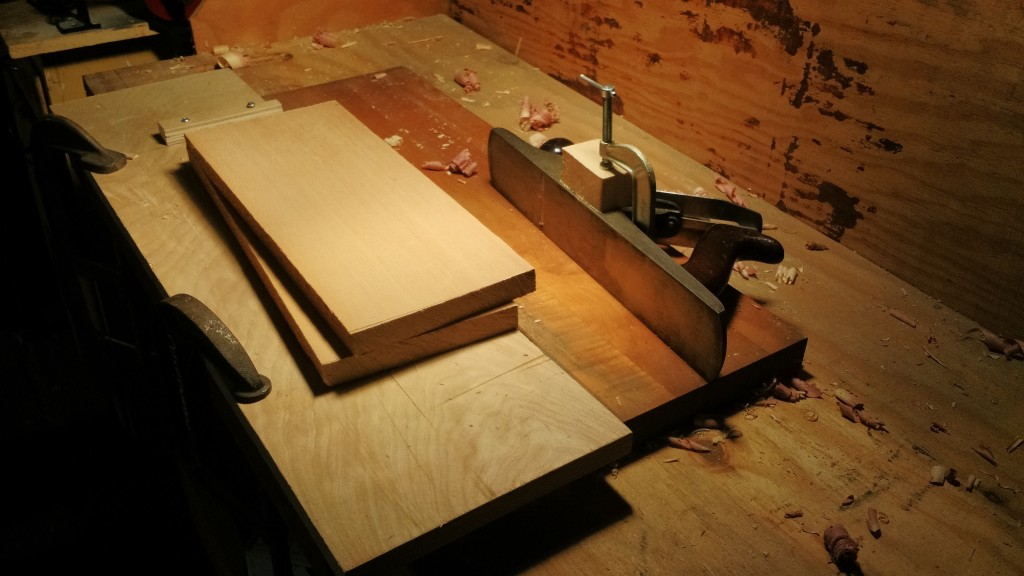
That big ol chunk of wood needed to be cut down, and I did (some of) it. So to do this, I screwed the top blank to a board which allowed me to clamp it in place on the workbench and start carving.
There are the three tools I used to wreak my destruction on that piece of spruce: a wide shallow gouge, a finger plane, and a Dremel tool with a specialized wood carving bit. I’ve now spent a few hours using these all so I am getting a feel for what should be used when. The Dremel tool is loud, and removes wood easier than scooping sour cream with a spoon. I can imagine that I might resort to it more when doing the much harder maple back, but I found it just too uncontrollable for the soft spruce. The gouge is what I did the majority of the work with which is why my hands hurt so much today. It’s mirror sharp, so it takes very little effort to carve, but it’s very slow work. It’s much easier to to work with the grain, but it’s also much more dangerous: it’s very easy to make the wood split if you accidentally gouge too deeply. The finger plane is for finer wood removal, so I haven’t used it much yet.
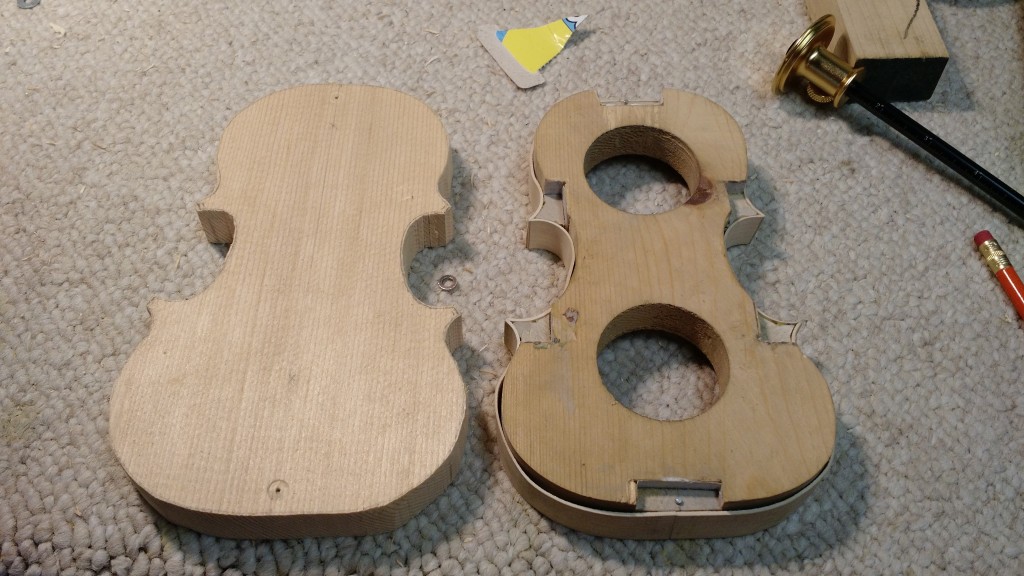
So here’s the work I got done:
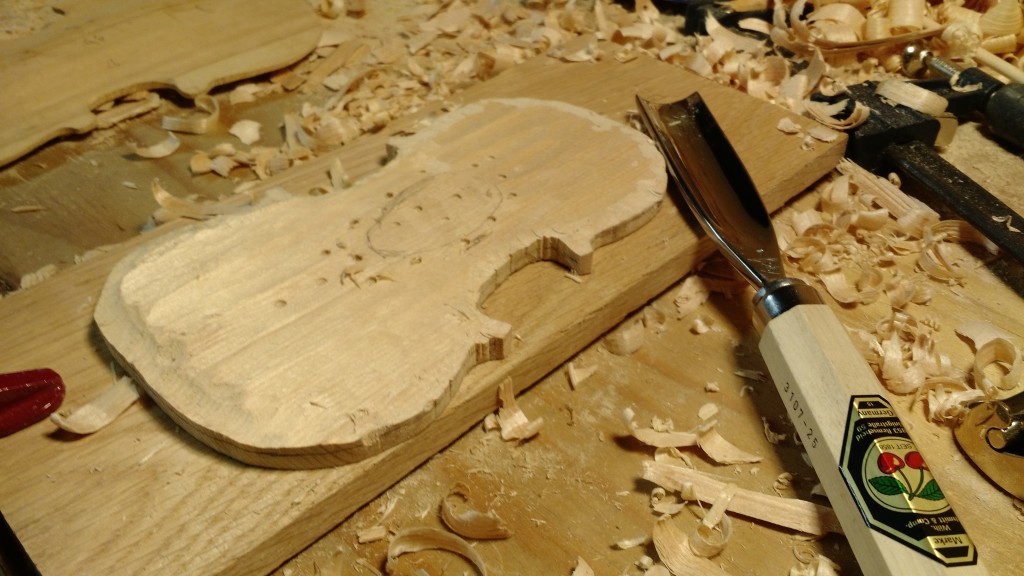
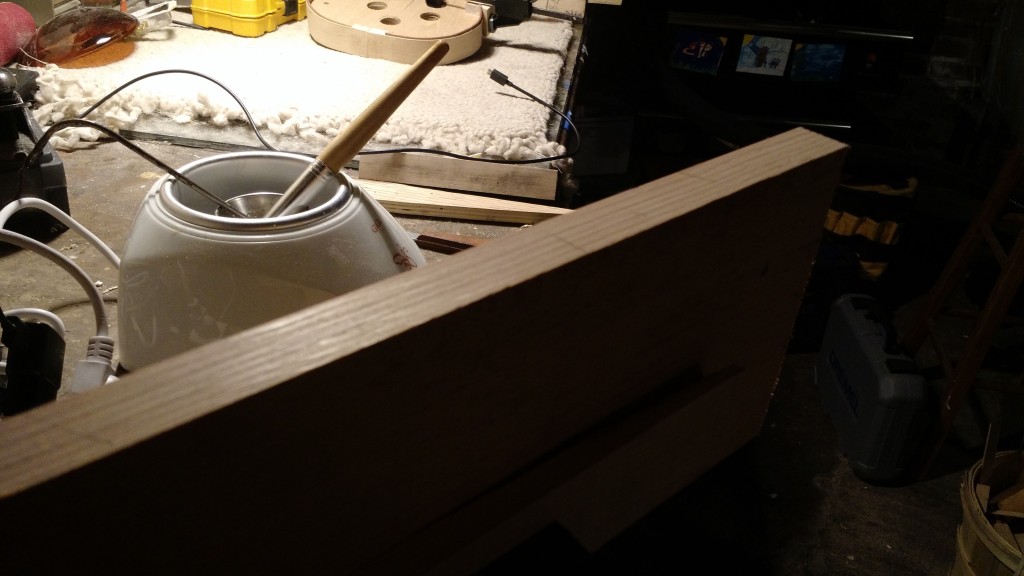
The little holes are depth markers, and remind me that I have yet to mention my newest and final power tool in the shop
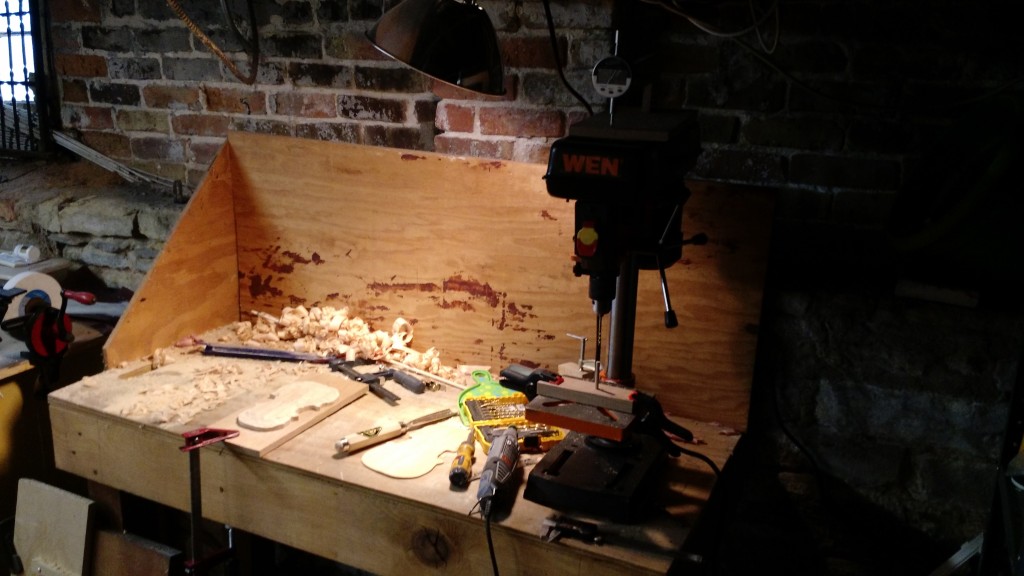
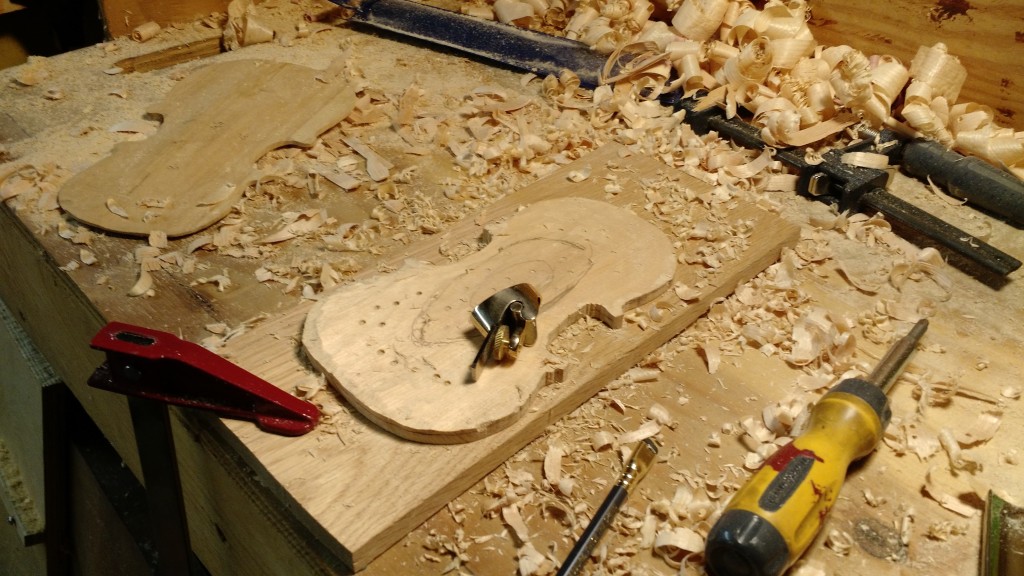
The shadowy figured on the right is a drill press, and it’s sad that it’s shadowed because it’s lovely bright orange. If you look closely at the table on the press you’ll see a dowel set into a piece of wood. I set the distance between that dowel and the end of the bit to the depth I want the top to be, then drill the hole in the top. When I have planed down to remove the hole, the wood is the correct thickness. Clever right? I can’t claim credit:
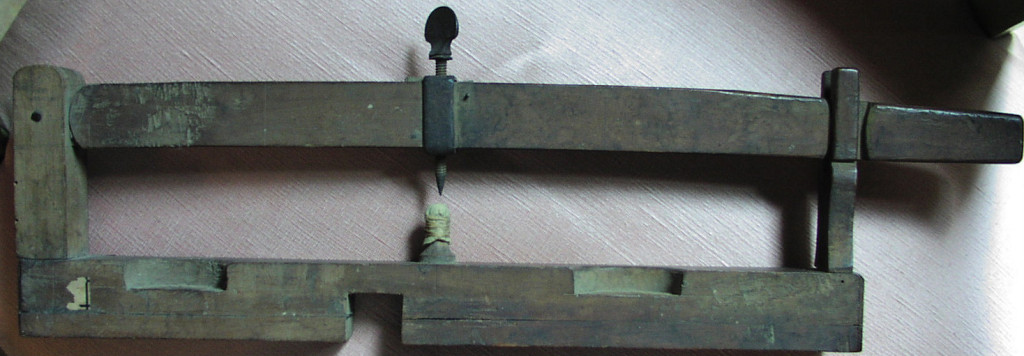
That’s how Stradivari did it. Okay his works slightly differently, but I think you can probably see how and why. I might build one of those guys eventually. Notice that there are still a bunch of holes in the last pic which indicates that I still have a long way to go. Next time, I have a couple ideas about how I can use the big bench plane to do a bunch of the work I did this time with the gouge.
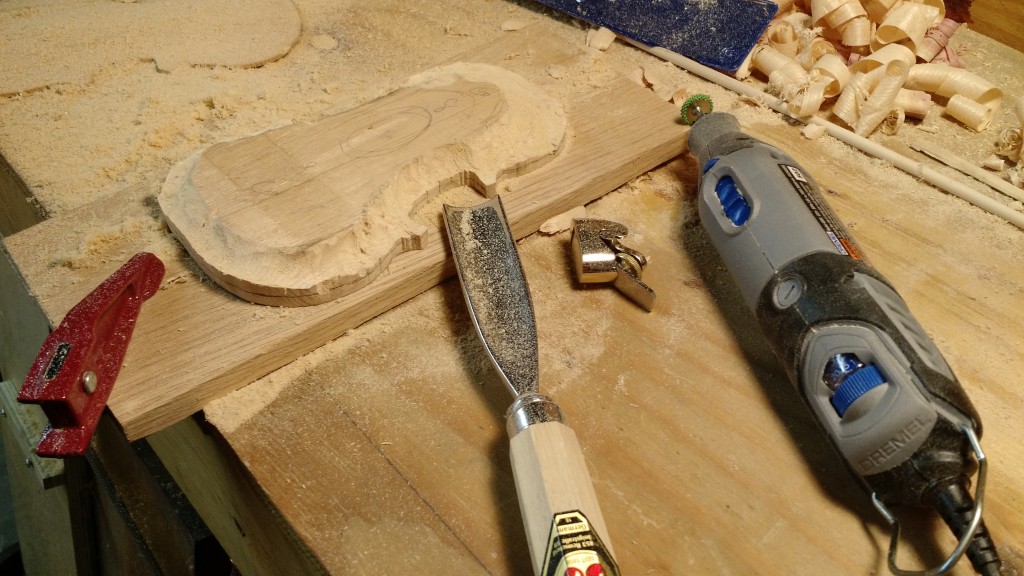
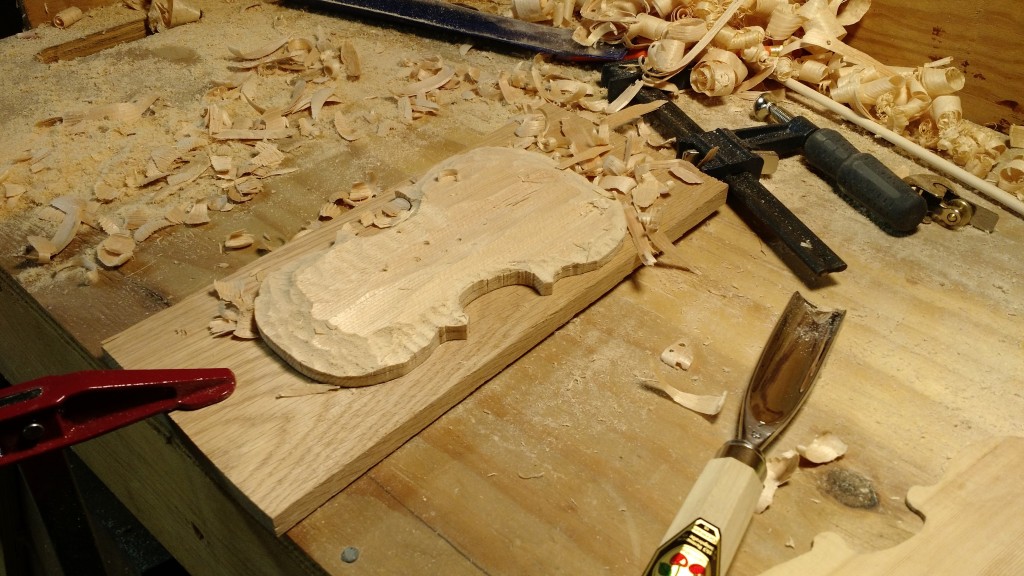
So when I’d had enough carving the back, I decided to start thinking about the top for Golia. What could be more fun than carving one little violin top? Carving a big one too, of course.
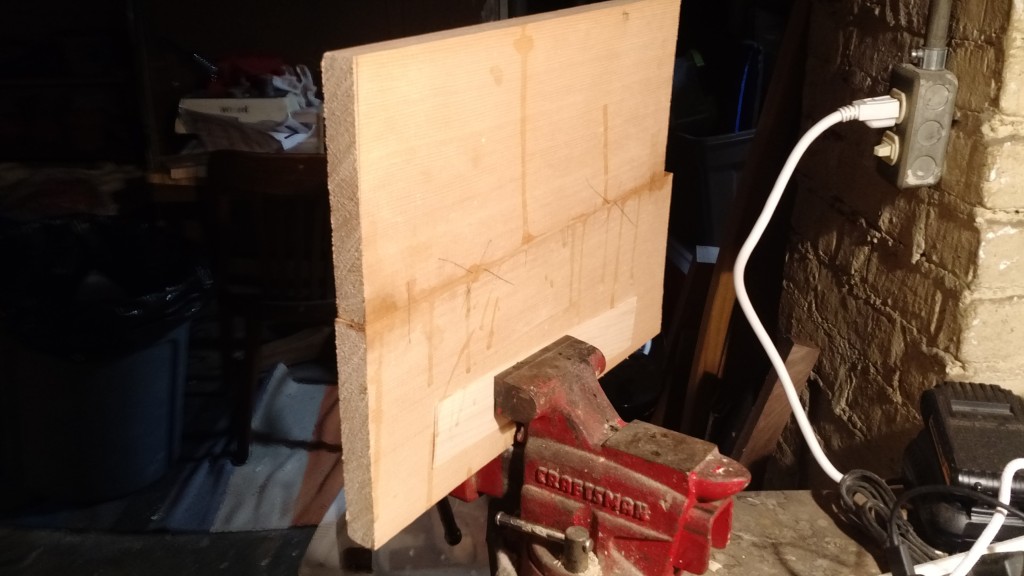
It takes a spruce at least 75 years to get large enough to produce lumber large enough to make a one piece top. As you might imagine, that makes that kind of wood very expensive. As a result, most violins are made with tops and backs made from two pieces of wood. Obviously, the joint between those pieces must be excellent as it’s under a huge amount of stress both during carving and as part of the instrument. I had a couple of pieces of spruce that I decided to test jointing.
I started with trying to use my shooting block to make the joint. I am not sure where the problem is, but while it makes a perfectly flat surface, it wasn’t producing a square one. I switched to planing both halves at once, and that worked much better.
Here’s one edge, ready to glue.
And there are the halves glued. This process is called a rubbed joint, and I find it fascinating. Once the two halves are ready, you heat them both up with a heat gun. Then you slather a bunch of hide glue on, put the boards together, and rub them back and forth while applying pressure. As the glue begins to bite, you line up the pieces. The bite effect is very strong, and sudden, so you just have a few seconds to get things together. Once they’re set, you don’t even need to clamp the pieces.