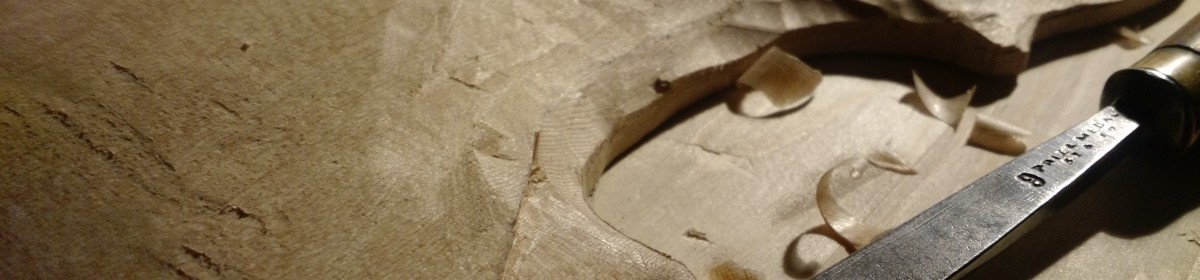
Well heated anyway. This weekend was a rib bending extravaganza. I just realized that I bent 12 ribs sections and didn’t crack a single one. So yay me. On the other hand, my bending technique has a long way to go. Also, my steampunk bending iron has got to go. You can see it in this pic:
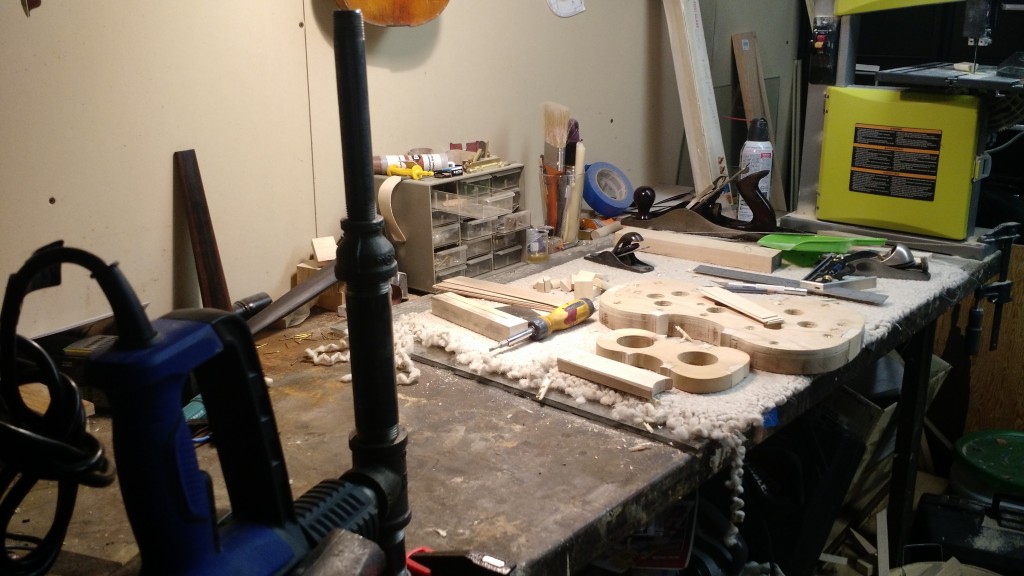
Here’s what a bending iron you buy from a store looks like:
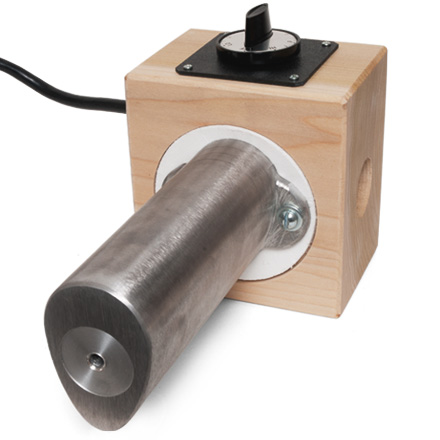
You’ll note that mine differs in one important way: it doesn’t have the 3″ long sweeping curve. Not having that makes it very hard to make long sweeping curves, especially on a full sized violin, without getting bumps. So yeah, my violin side are lumpy. Before the next violin, I’ll be ordering one of these boring ones.
And speaking of that, this is a friendly reminder that I am a good photographer. In particular, I take photos which highlight the good things and cover up the problems as much as I’m able. So if you want to see my lumpy sided violin, you’re going to have to visit the shop.
So C-bouts are first, because they make the shape of the corners. Here the 1/16th are bend and in, and I’m working on the full sized ones.
Once the middle is done, I move on to the upper bouts. These are the most low stress ribs as the joint at the top doesn’t have to be perfect as it ends up being cut away when you fit the neck. That said, I figured I had a good opportunity to practice making a perfect joint because you have to do that on the bottom. So all bouts were stressful.
My awesome spouse took this photo as I was fitting the top bouts. Look at how nicely they hang on the fixture!
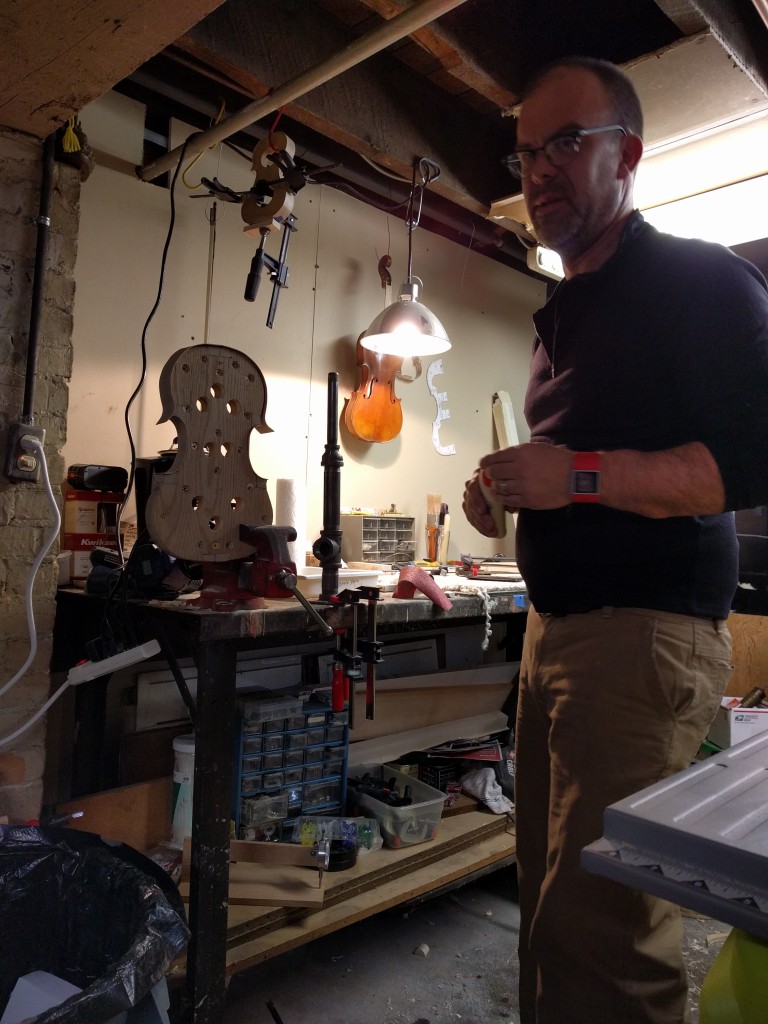
And yes, that’s a bottle of titebond in my hand. The use of titebond for gluing ribs to blocks seems to be hotly debated amongst violin makers. (seriously. luthiers fight like cats.) It’s nice to have the strength and filling power of it, but some people claim it messes with the sound. I figure with this one, I am hoping it doesn’t implode so sound isn’t my #1 concern. There is one other joint I’ll use it for as well: joining the two top and bottom plates.
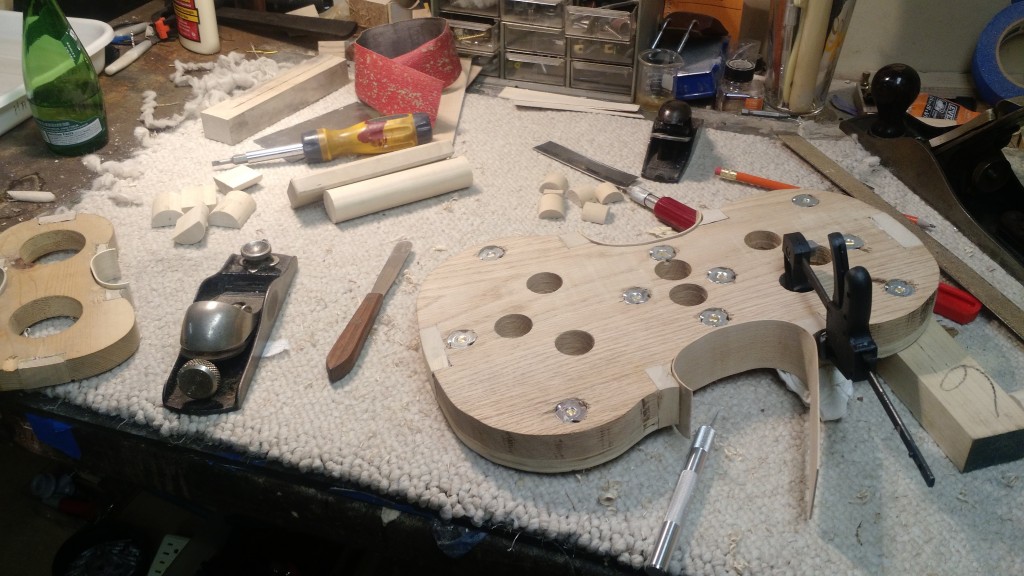
Here’s the top bouts glued up and clamped.
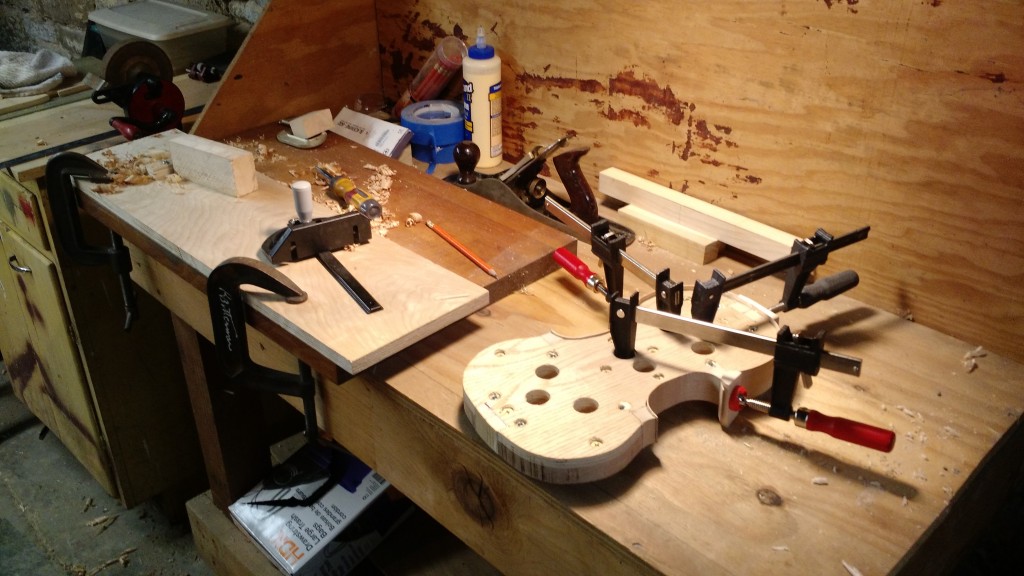
I built that shooting board setup to get ready for working on the top, but it was very useful for straightening the ends of the top and bottom bouts. Shooting boards are what people used before ‘lectrical routers to make the edge of a piece of wood straight. I used my freshly sharpened Stanley #65 to handily even the ends of the bouts. I was surprised how perfectly it worked, as this is an endgrain cut. It makes a nice sound too.
Here’s a crummy pic of it in action.

Voila! Now lots of trimming to do.

The astute observer will noticed that the fixture is how even holier. I figured out that I could not get the clamps to settle correctly into the existing clamp holes for clamping the lower bouts. Drilling holes into a fixture with most of a rib structure on it is a bit frightening, but it all worked out. I think I have a much better understanding of the placement of those holes for the next one.